This little project has all the qualities that make a project satisfying for me: creative use of a material, hunting and gathering all the crafty pieces, long straight seams to sew, fairly low level of difficulty, and lots of colorful bang for less than 50 bucks. In this case, much less, only about $32 all in. Woo hoo!
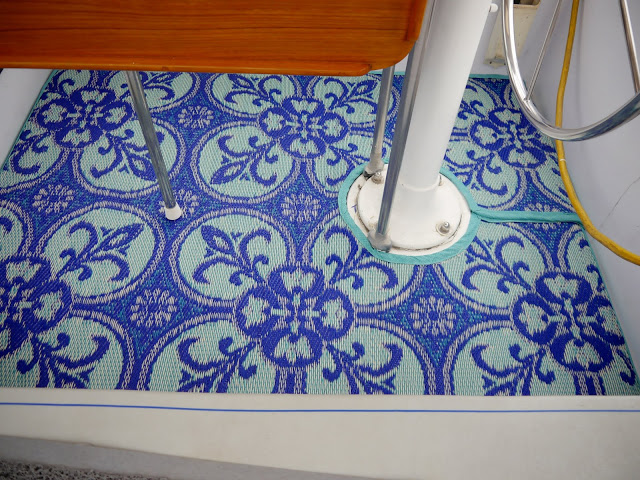
Don’t ask me what I was doing in World Market because truly I don’t even know. I had just bought fabric for another project over at the fabric store and with time to kill I wandered in just to look around. That’s usually a dangerous thing, but since I’m determined to NOT buy anything for the house, I felt safe. But then, I found these cool mats made from woven recycled plastic. Hmmm. The little grey cells began to process all the possibilities and 20$ later I left with a 4×6 mat destined to cover our cockpit floor.
Want to make one? Here’s how I did this one.
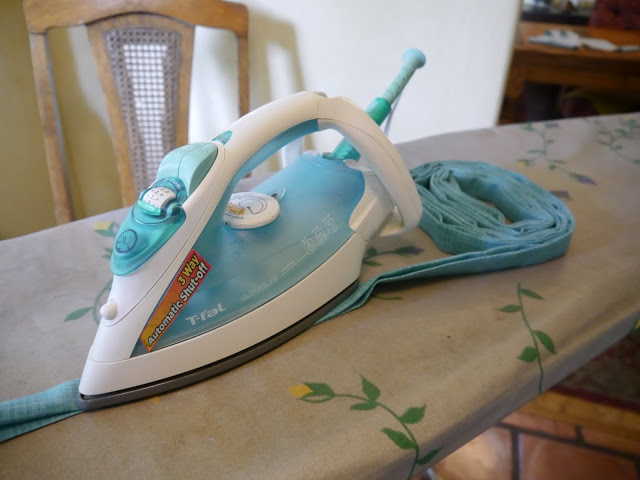
You will need: your mat, scissors, outdoor thread, outdoor fabric in a matching color, masking tape, butcher paper and tape for the pattern.
Et voila! This will be exposed to UV rays all the time, so who knows how long it will last? But who cares? For that price, it was worth it just for the fun.
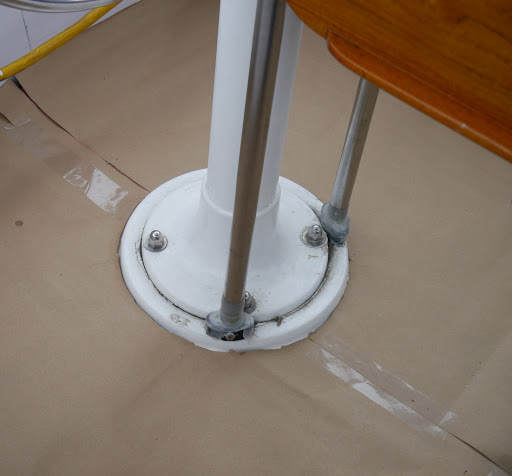
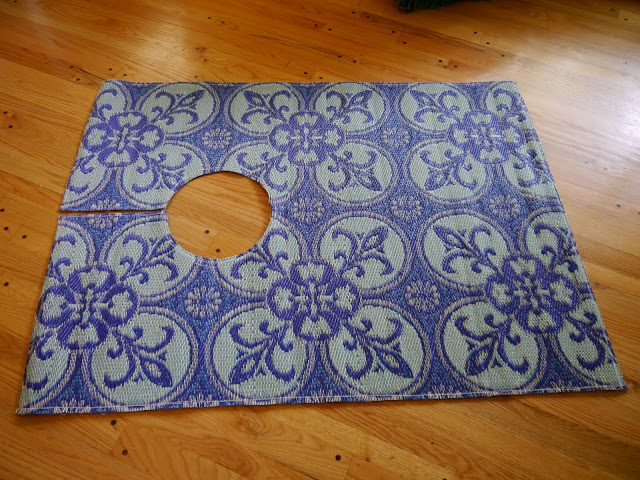
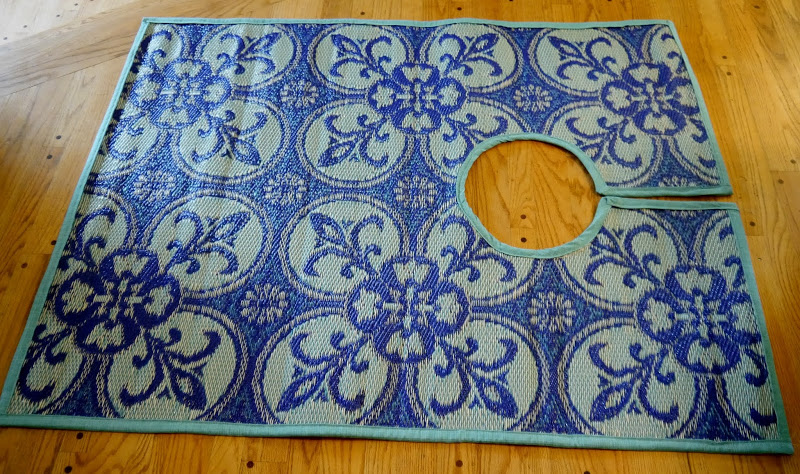
- Make a pattern of your cockpit floor. In our case, I needed to cut out a circle to fit around the steering pedestal. Sure, the engineering types reading this will come up with a thousand easier ways to make a pattern, probably using things like numbers and formulas and measurements. I prefer my patterns to be on paper. I’m tactile and visual, and I just feel better having a template I know fits exactly. Or at least close. I used left over butcher paper I had from making the patterns for the aft cabin berths.

- Center the pattern over the mat. It’s easy to do this by folding the pattern in half the long way and marking the middle, then repeating in the other direction. Do the same thing with your mat. Mark the middle on each side, then lay the pattern on top of the mat, making the marks match up. Then trace around the pattern using a sharpie marker.

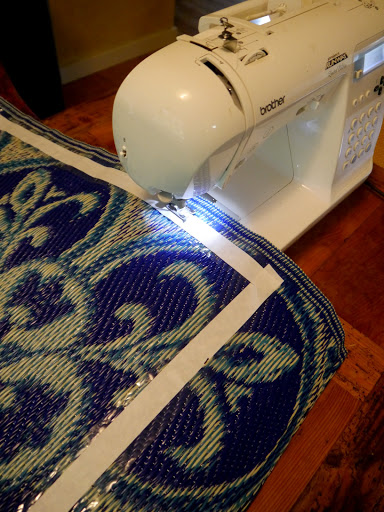
- Now put tape along the edge of the line. The purpose here is to keep the mat from unraveling when you are cutting it, before it is sewn. With this mat, that was only an issue in one direction, but I didn’t know that before I cut, so better safe. Place the tape on the inside of the line. Cut along the tape and get ready to sew. I used sail thread that I already had, but be sure to use outdoor thread. I sewed this on my Brother sewing machine, which is a regular machine. It handled this just fine. Sew along the middle of the tape to secure the edges.

- At this point, make sure your mat fits the cockpit floor.

- Make the binding. Cut 4″ strips from your chosen fabric. Using an iron, fold the fabric in half, then fold each side in half again. Use the iron to make crisp edges. Then cut 4″ strips along the bias of the remaining fabric for the binding for the circle cut out, if you have one. fold and iron that the same way.

- Sandwich the edge of the mat in the folded binding and sew along the edge, binding a blanket. Use the bias cut binding to do the circle.

Life aboard is living large, in a small space. Every boat owner has found ways to make life in that small space easier, more comfortable, more convenient. The idea behind this site is to provide a place where these ideas can be shared amongst the boating community. To participate, send your contribution to SmallBoatProjects at gmail dot com.
Pages
▼
Tuesday, June 21, 2016
Cheap Boat Tricks – Cockpit Floor Mat
Please welcome new contributors Melissa and Mike, of s/v Galapagos, a 1975 47 foot Olympic Adventure ketch! For their first contribution, Melissa shows us a cheap and easy addition to cockpit comfort...


No comments:
Post a Comment